

Crunchy or chewy? I asked.
Definitely NOT crunchy!
Why?
You take one bite and they crumble to a billion pieces.
So my quest began for a chewy granola bar. The search took me to the King Arthur Flour site, where its recipe received high ratings.
Then, lo and behold, I got a package in the mail! Thanks to FoodBuzz and Planters through the tastemaker program, I got the needed inspiration to make these peanut butter granola bars...

The recipe is simple enough ... and versatile. It will take some fun experimenting with seeds, nuts, and other add-ins to get the perfect chewy granola bar that you family will love. Keep in mind: if you add lots of sweets or sweet dried fruit to these bars, you may want to cut back the sugar (leave out 1/3 cup) as the fruit will naturally sweeten the bars. If you only use nuts, seeds, and tangy fruits, you may want to keep in the sugar. It's up to you!
First, line a 9x13 pan with foil and lightly oil. The foil "sling" will help you get the granola bars out of the pan easily. Next time, I would butter the pan for flavor.

Mix dry ingredients: quick rolled oats, brown sugar, salt, granulated sugar, oat flour ...
What? No oat flour? No problem. Grind your oats in a blender or food processor to a fine powder.

Then add 2-3 cups of your favorite dried ingredients. Don't put more than 10-15 oz, or your bars may be crumbly....a scale comes in handy!
It can be any combonation:
(DRIED FRUITS) cranberries, apricots, cherries, or apples.
(NUTS) pecans, walnuts, peanuts
(SEEDS) sunflower, sesame, pumpkin
(OTHER) coconut, chocolate chips, cinnamon
I chose semi-sweet chocolate chips, shredded coconut, and roasted peanuts.

In a separate bowl, combine the wet ingredients: peanut butter, vanilla, corn syrup, honey, water, and unsalted butter. I chose to use unsalted butter because of the peanut butter and the salted peanuts. If you are making more of a fruit type bar, you may want to use salted butter.

Pour the wet ingredients onto the dry and mix well. Spread into the pan, pressing them in firmly.

Smooth the top over with a rubber spatula ... you want an even layer as possible ...

Bake for 20-25 minutes or till brown on the edges. Don't over bake, or the edges will turn hard and crispy. The middle will still be soft. Cool for 10 minutes and run a table knife around the edges.
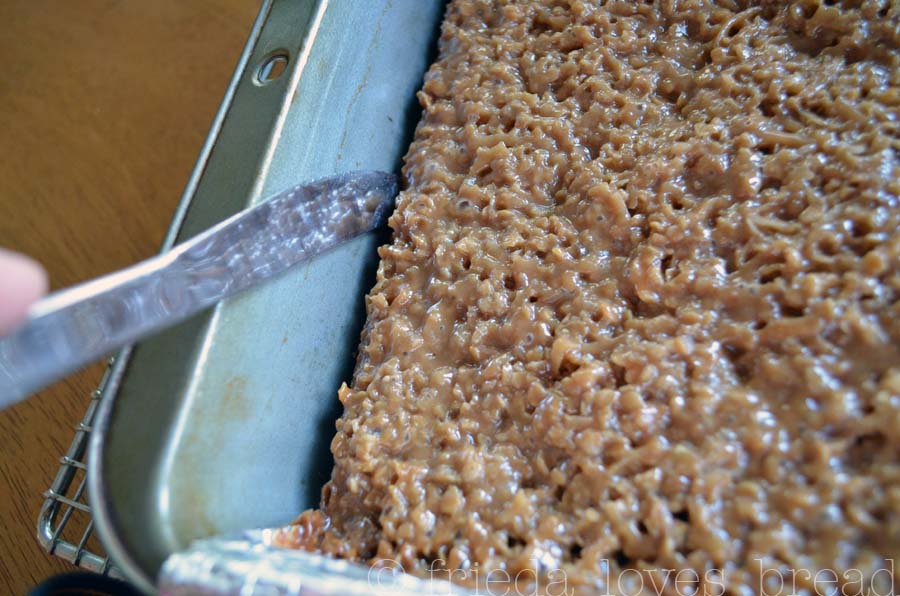
Lift the bars, using the foil sling, to a cooling rack. Let it cool completely, about an hour.
Use a long serrated bread knife or bench knife to cut into bars. I cut them into 4"x1.25" bars.
Here's a comparison of the homemade granola bar, next to the store bought version.
Which would you rather have?

Hmmm. I thought so.
Chewy Peanut Butter Granola Bars
(4x6 recipe download) (full page printable recipe)


Do they need to be refrigerated? They really look good!
ReplyDeleteNo, they do not need to be refrigerated, unless you live in a humid climate. It's pretty dry here in Utah, so I've individually wrapped them and stuck them in a Ziploc baggie. There's not many left!
ReplyDeleteFrieda, these look amazing!
ReplyDeleteThanks Frieda, I do live in a humid climate-Hawaii, I'm thinking of making them and shipping some to Oregon so was wondering if they would do well or not.
ReplyDeleteWhat a great idea! I am sure they will ship well. I think that if left on the counter (even wrapped) in a humid climate, they will be sticky...but wrap them up individually and ship them to Oregon will be just fine. Let me know if it works out for you.
ReplyDeleteThank you so much! I read every post of your!
ReplyDeleteIrresistible! Your granola bars are delightful! What a refreshing change from "store bought', which I do not care for. Home made is always so much better!
ReplyDeleteWow do those look wonderful. He is one lucky college kid. Come over Nd visit. We have a wonderful waffle recipe today.
ReplyDeleteThis comment has been removed by a blog administrator.
ReplyDeleteOh my gosh! Yum, yum, yum, and YUM! These look absolutely delectable! Thanks for sharing! I'm your newest follower; hope you'll stop by my blog when you have a minute at http://herlittlemister.blogspot.com/
ReplyDeleteHave a great weekend!
Kate
I agree with your son - definitely the chewy! These look so much better than the store bought and I love the combos that you could come up with for these....very yummy!
ReplyDeleteWow, those look so good! I just got a new KitchenAid mixer too so I can whip these up like you! I am going to put this on my must-try recipe list! Thanks for sharing!
ReplyDelete