

Dulce de Leche.
Can you pronounce it? I can't.
All I can tell you is this.
It is sweet, brown, deliciousness. Many folks call it a caramel.
Literally translated, it means "candy milk."
I'll take that!
It is traditionally prepared by slowly heating sweetened milk, changing its flavor and color, resulting in a thick, sweet caramelly sauce. It can be made in the oven, stove or microwave.
What do you use this stuff for? Well, just about anything. Over ice cream, on a cake, in a crepe, sandwiched between cookies, dip pretzel sticks, apple slices or just dipping a plain 'ole spoon will do.
I have heard that this glorious stuff can be made in a pressure cooker.
Wait a minute. Put a sealed can in a pressure cooker? Won't it explode?
Is is Safe to use the unopened can in the pressure cooker?
Sweetened condensed milk labels now have the warning: "Do not heat in the can."
I searched high and low to find the reason, and this is the only conclusion I can come up with: Sweetened condensed milk has been heated in a can for years. However, some anxious folks out there have tried to move or open a HOT can, and guess what? Hot caramel lava went everywhere.
The takeaway for me is to leave the cans alone and don't move or open them until they are completely cooled.
Here's a video, with 5 cans of sweetened condensed milk, cooked for 15 minutes and a full natural release. All the cans are intact! Now, it's time to let them cool.
But wait.... is it safe to EAT the dulce de leche cooked in the can?
Some people have mentioned that BPA (bisphenol A) that is used to line the cans can leach into the caramel under high heat. Did you know that as of 2018, at least 90% of cans no longer contain BPA?
1. Remove the paper from the can. Remove ALL the glue from the can. Use a cotton ball soaked with rubbing alcohol to remove the glue.
Inspect the can for nicks, dents, or bulges.
Inspect the can for nicks, dents, or bulges.

If there is any glue left on the can from the label, it will melt, stick onto the liner of your pot, and be really, really hard to remove.
2. Put the trivet in your pressure cooker.
3. Place can (or cans) on its side and fill pot with water.
3. Place can (or cans) on its side and fill pot with water.
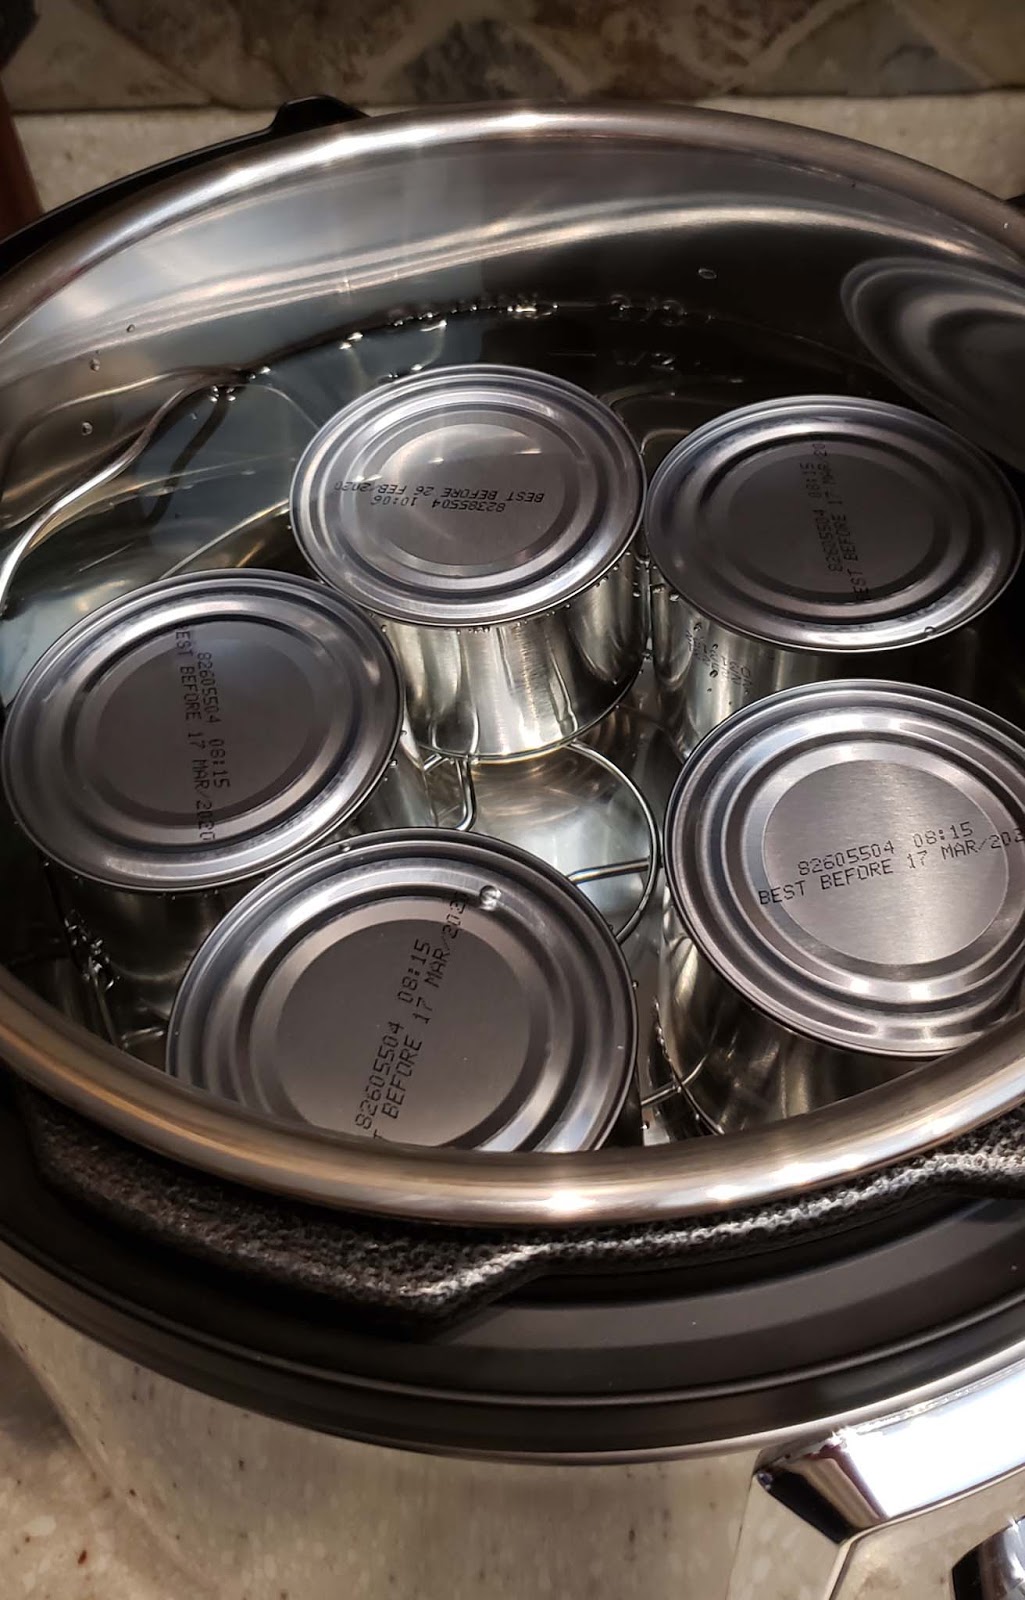
Make sure you do NOT exceed the MAX fill line.
4. Close and lock your pressure cooker. Select HIGH for 15-20 min. (The longer you cook the milk, the darker it will be). My cooker came to pressure at 33 minutes, then cooked for 15 minutes.
5. Turn pressure cooker OFF, allow to naturally release the steam on its own.
6. When the pressure valve drops, you can open the lid, but DO NOT REMOVE THE CAN.
7. Let pressure cooker sit, undisturbed, for a couple of hours or over night. You want the cans to be cool enough to handle, so let it sit. For curious kids and hubby, I made a sign:
8. Next day, remove the can, dry it off and write on the can, "Dulce de Leche." Store unopened can on the shelf.

Open, indulge, and if there is any left over, transfer to an air tight container and put in the fridge for up to 3 weeks.
If opened and you need it to last longer, put in a freezer safe container and freeze for up to 3 months.
If the dulce de leche is too stiff, you can warm it in a pan/double boiler with a little bit of milk...
Mmmmmmm..... don't think this can will last long....
Thanks to all those who went before me and made this possible:
Dulce de Leche - Pressure Cook
Caramelized sweet milk is now even easier, using your pressure cooker. What used to take 3-4 hours on the stove and even longer in your slow cooker, now takes 20 minutes under pressure. If you want a lighter color, cook it for less time.
This sweet spread can be enjoyed over ice cream, cake, in a crepe, sandwiched between cookies....
Ingredients
- 1 (14oz) can sweetened condensed milk
- Water
- Trivet or steamer basket
Instructions
1. Remove the label from the can.2. Remove ALL the glue from the can; otherwise the residual glue can make a mess in your pot that is difficult to remove. If you can't remove all the glue, wrap the outside of the can in aluminum foil.3. Put the trivet or steamer basket in the pressure cooker.4. Place the can(s) on the trivet/steamer basket.5. Fill the pressure cooker with water, to the MAX line or at least 1" above the can. It is important that the water completely covers the can.6. Close the lid, close the pressure valve, and set if for HIGH pressure.7. Set the time for 15-20 minutes. The longer cook time produces a darker color. 8. At the end of the cook time, turn the pressure cooker OFF and allow a full natural release. 9. When the float valve drops, you can remove the lid, but DO NOT REMOVE THE HOT CAN. 10. Allow the the water to cool completely for a few hours (I let it cool over night). Remove cooled can from pressure cooker, label and store on the shelf.Open, use, or transfer to an airtight container and keep in the fridge for 3 weeks or freezer for up to 3 months.If the dulce de leche is too stiff, warm it over a double boiler on the stove with a little milk to desired consistency.
Details
Prep time: Cook time: Total time: Yield: 14 ounces


